[Keystone] 認証とセッション
認証とセッション
Keystone アプリにパスワード、セッション データ、および認証を追加する方法を学びます。
公開ワークフロー
keystone.ts
import { config, list } from '@keystone-6/core';
import { allowAll } from '@keystone-6/core/access';
import { text, relationship, timestamp, select } from '@keystone-6/core/fields';

const lists = {
  User: list({
    access: allowAll,
    fields: {
      name: text({ validation: { isRequired: true } }),
      email: text({ validation: { isRequired: true }, isIndexed: 'unique' }),
      posts: relationship({ ref: 'Post.author', many: true }),
    },
  }),
  Post: list({
    access: allowAll,
    fields: {
      title: text(),
      publishedAt: timestamp(),
      author: relationship({
        ref: 'User.posts',
        ui: {
          displayMode: 'cards',
          cardFields: ['name', 'email'],
          inlineEdit: { fields: ['name', 'email'] },
          linkToItem: true,
          inlineCreate: { fields: ['name', 'email'] },
        },
      }),
      status: select({
        options: [
          { label: 'Published', value: 'published' },
          { label: 'Draft', value: 'draft' },
        ],
        defaultValue: 'draft',
        ui: { displayMode: 'segmented-control' },
      }),
    },
  }),
};

export default config({
  db: {
    provider: 'sqlite',
    url: 'file:./keystone.db',
  },
  lists,
});
パスワードフィールドを追加する
Keystone のパスワードフィールドは、データベース内のパスワードのハッシュ化や、管理 UI 入力フィールドのパスワードのマスキングなど、一般的なパスワード セキュリティの推奨事項に従っています。
keystone.ts
import { config, list } from '@keystone-6/core';
import { allowAll } from '@keystone-6/core/access';
import { password, text, relationship, timestamp, select } from '@keystone-6/core/fields';

const lists = {
  User: list({
    access: allowAll,
    fields: {
      name: text({ validation: { isRequired: true } }),
      email: text({ validation: { isRequired: true }, isIndexed: 'unique' }),
      posts: relationship({ ref: 'Post.author', many: true }),
      password: password({ validation: { isRequired: true } })
    },
  }),
...
認証を追加
auth パッケージをインストールする
アプリで使用するには、Keystone の認証パッケージを追加する必要があります。
yarn add @keystone-6/auth
パッケージができたので、プロジェクトのルートに新しいファイルを作成して、認証構成を書き込みましょう。
auth.ts
import { createAuth } from '@keystone-6/auth';

const { withAuth } = createAuth({
  listKey: 'User',
  identityField: 'email',
  sessionData: 'name',
  secretField: 'password',
});

export { withAuth };
セッションを追加
認証方法を追加したら、更新間で認証を維持できるように「セッション」を追加する必要があります。
auth.ts
import { createAuth } from '@keystone-6/auth';
import { statelessSessions } from '@keystone-6/core/session' ;

const { withAuth } = createAuth({
  listKey: 'User',
  identityField: 'email',
  sessionData: 'name',
  secretField: 'password',
});

let sessionSecret = '-- DEV COOKIE SECRET; CHANGE ME --';
let sessionMaxAge = 60 * 60 * 24 * 30; // 30 days

const session = statelessSessions({
  maxAge: sessionMaxAge,
  secret: sessionSecret,
});

export { withAuth, session }
認証とセッションを Keystone 構成にインポートする
keystone ファイルに戻って、withAuth 関数と session オブジェクトをインポートする必要があります。
withAuth は、デフォルトエクスポートをラップし、設定を完了する最後のステップで変更します。セッションはエクスポートにアタッチされます。
最後に、有効なセッションを持つユーザーだけが管理UIを見ることができるように、isAccessAllowed 関数をエクスポートに追加する必要があります。
keystone.ts
import { config, list } from '@keystone-6/core';
import { allowAll } from '@keystone-6/core/access';
import { password, text, relationship, timestamp, select } from '@keystone-6/core/fields';
import { withAuth, session } from './auth';

...

export default config(
  withAuth({
  db: {
    provider: 'sqlite',
    url: 'file:./keystone.db',
  },
  lists,
  session,
    ui: {
      isAccessAllowed: (context) => !!context.session?.data,
    },
  })
);
初期化項目の追加
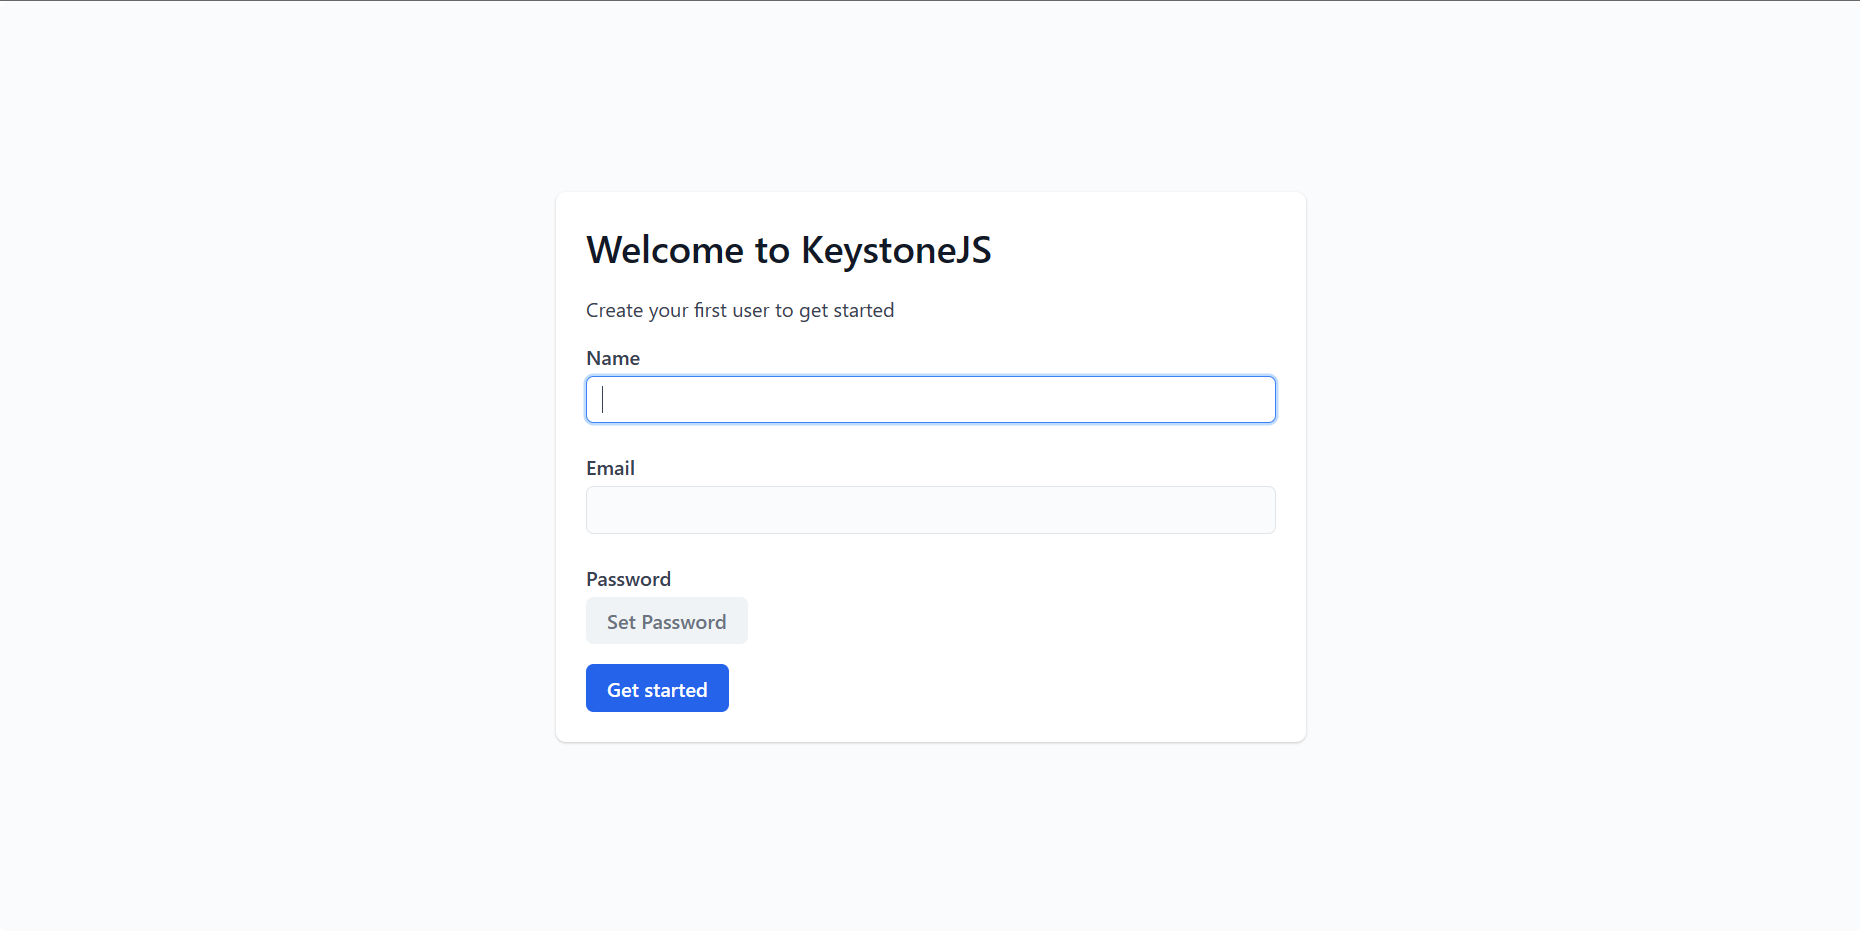
新しい設定では、管理UIにロックアウトされます!さらに、まだデータベースにユーザーがいない場合、または新しい人がプロジェクトをクローンした場合、管理UIにアクセスできません。幸いなことに、Keystoneには、既存のユーザーが存在しない場合、最初にAdmin UIを起動するときに1人のユーザーを作成できる initFirstItem 機能があります。これは auth パッケージにあります。
auth.ts
...
const { withAuth } = createAuth({
  listKey: 'User',
  identityField: 'email',
  sessionData: 'name',
  secretField: 'password',
  initFirstItem: {
    fields: ['name', 'email', 'password'],
  },
});
...

認証とセッション
auth.ts
import { createAuth } from '@keystone-6/auth';
import { statelessSessions } from '@keystone-6/core/session' ;

const { withAuth } = createAuth({
  listKey: 'User',
  identityField: 'email',
  sessionData: 'name',
  secretField: 'password',
  initFirstItem: {
    fields: ['name', 'email', 'password'],
  },
});

let sessionSecret = '-- DEV COOKIE SECRET; CHANGE ME --';
let sessionMaxAge = 60 * 60 * 24 * 30; // 30 days

const session = statelessSessions({
  maxAge: sessionMaxAge,
  secret: sessionSecret,
});

export { withAuth, session }
keystone.ts
import { config, list } from '@keystone-6/core';
import { allowAll } from '@keystone-6/core/access';
import { password, text, relationship, timestamp, select } from '@keystone-6/core/fields';
import { withAuth, session } from './auth';

const lists = {
  User: list({
    access: allowAll,
    fields: {
      name: text({ validation: { isRequired: true } }),
      email: text({ validation: { isRequired: true }, isIndexed: 'unique' }),
      posts: relationship({ ref: 'Post.author', many: true }),
      password: password({ validation: { isRequired: true } })
    },
  }),
  Post: list({
    access: allowAll,
    fields: {
      title: text(),
      publishedAt: timestamp(),
      author: relationship({
        ref: 'User.posts',
        ui: {
          displayMode: 'cards',
          cardFields: ['name', 'email'],
          inlineEdit: { fields: ['name', 'email'] },
          linkToItem: true,
          inlineCreate: { fields: ['name', 'email'] },
        },
      }),
      status: select({
        options: [
          { label: 'Published', value: 'published' },
          { label: 'Draft', value: 'draft' },
        ],
        defaultValue: 'draft',
        ui: { displayMode: 'segmented-control' },
      }),
    },
  }),
};

export default config(
  withAuth({
  db: {
    provider: 'sqlite',
    url: 'file:./keystone.db',
  },
  lists,
  session,
    ui: {
      isAccessAllowed: (context) => !!context.session?.data,
    },
  })
);
