[Keystone] ドキュメントフィールド
ドキュメントフィールド
Keystone のドキュメントフィールドを使用して、強力でカスタマイズ可能なリッチテキスト編集体験を実装する方法を学びます。
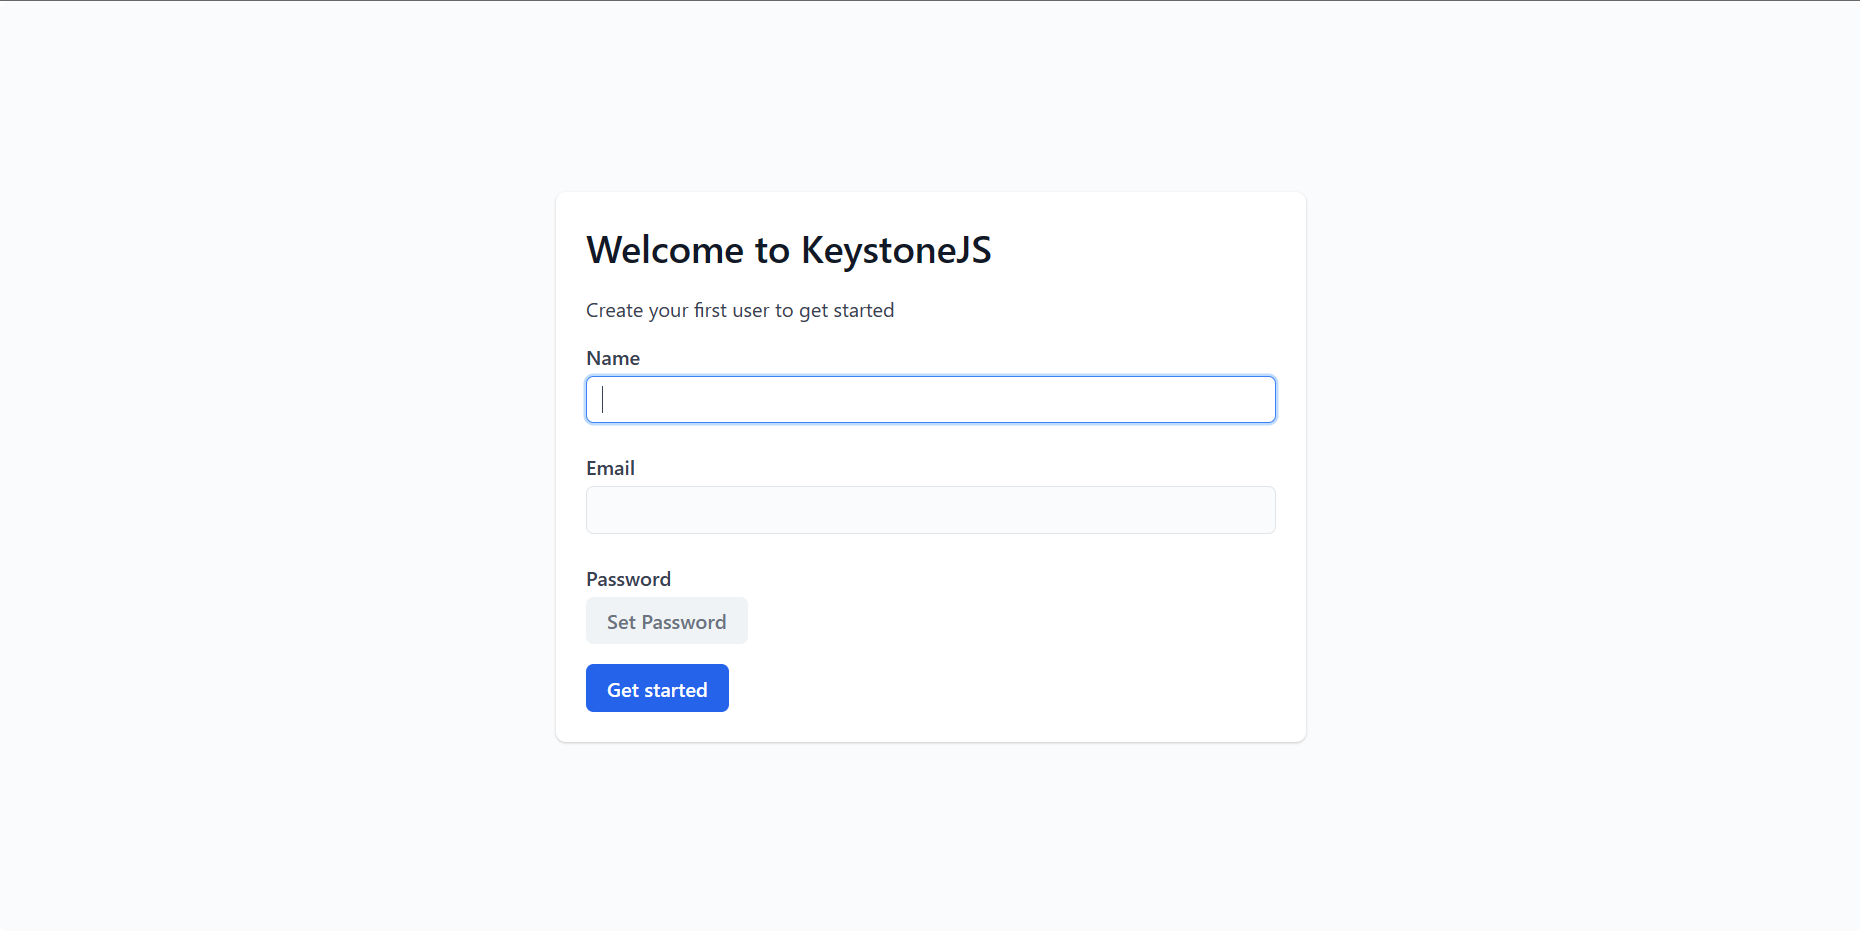
認証とセッション
auth.ts
import { createAuth } from '@keystone-6/auth';
import { statelessSessions } from '@keystone-6/core/session' ;

const { withAuth } = createAuth({
  listKey: 'User',
  identityField: 'email',
  sessionData: 'name',
  secretField: 'password',
  initFirstItem: {
    fields: ['name', 'email', 'password'],
  },
});

let sessionSecret = '-- DEV COOKIE SECRET; CHANGE ME --';
let sessionMaxAge = 60 * 60 * 24 * 30; // 30 days

const session = statelessSessions({
  maxAge: sessionMaxAge,
  secret: sessionSecret,
});

export { withAuth, session }
keystone.ts
import { config, list } from '@keystone-6/core';
import { allowAll } from '@keystone-6/core/access';
import { password, text, relationship, timestamp, select } from '@keystone-6/core/fields';
import { withAuth, session } from './auth';

const lists = {
  User: list({
    access: allowAll,
    fields: {
      name: text({ validation: { isRequired: true } }),
      email: text({ validation: { isRequired: true }, isIndexed: 'unique' }),
      posts: relationship({ ref: 'Post.author', many: true }),
      password: password({ validation: { isRequired: true } })
    },
  }),
  Post: list({
    access: allowAll,
    fields: {
      title: text(),
      publishedAt: timestamp(),
      author: relationship({
        ref: 'User.posts',
        ui: {
          displayMode: 'cards',
          cardFields: ['name', 'email'],
          inlineEdit: { fields: ['name', 'email'] },
          linkToItem: true,
          inlineCreate: { fields: ['name', 'email'] },
        },
      }),
      status: select({
        options: [
          { label: 'Published', value: 'published' },
          { label: 'Draft', value: 'draft' },
        ],
        defaultValue: 'draft',
        ui: { displayMode: 'segmented-control' },
      }),
    },
  }),
};

export default config(
  withAuth({
  db: {
    provider: 'sqlite',
    url: 'file:./keystone.db',
  },
  lists,
  session,
    ui: {
      isAccessAllowed: (context) => !!context.session?.data,
    },
  })
);
ドキュメントフィールドを追加する
Keystone のドキュメントフィールドは、高度にカスタマイズ可能なリッチテキストエディターであり、コンテンツ作成者がシステム内のコンテンツをすばやく簡単に編集できます。
ドキュメントフィールドを実装するには、まずパッケージをプロジェクトに追加します。
keystone.ts
yarn add @keystone-6/fields-document
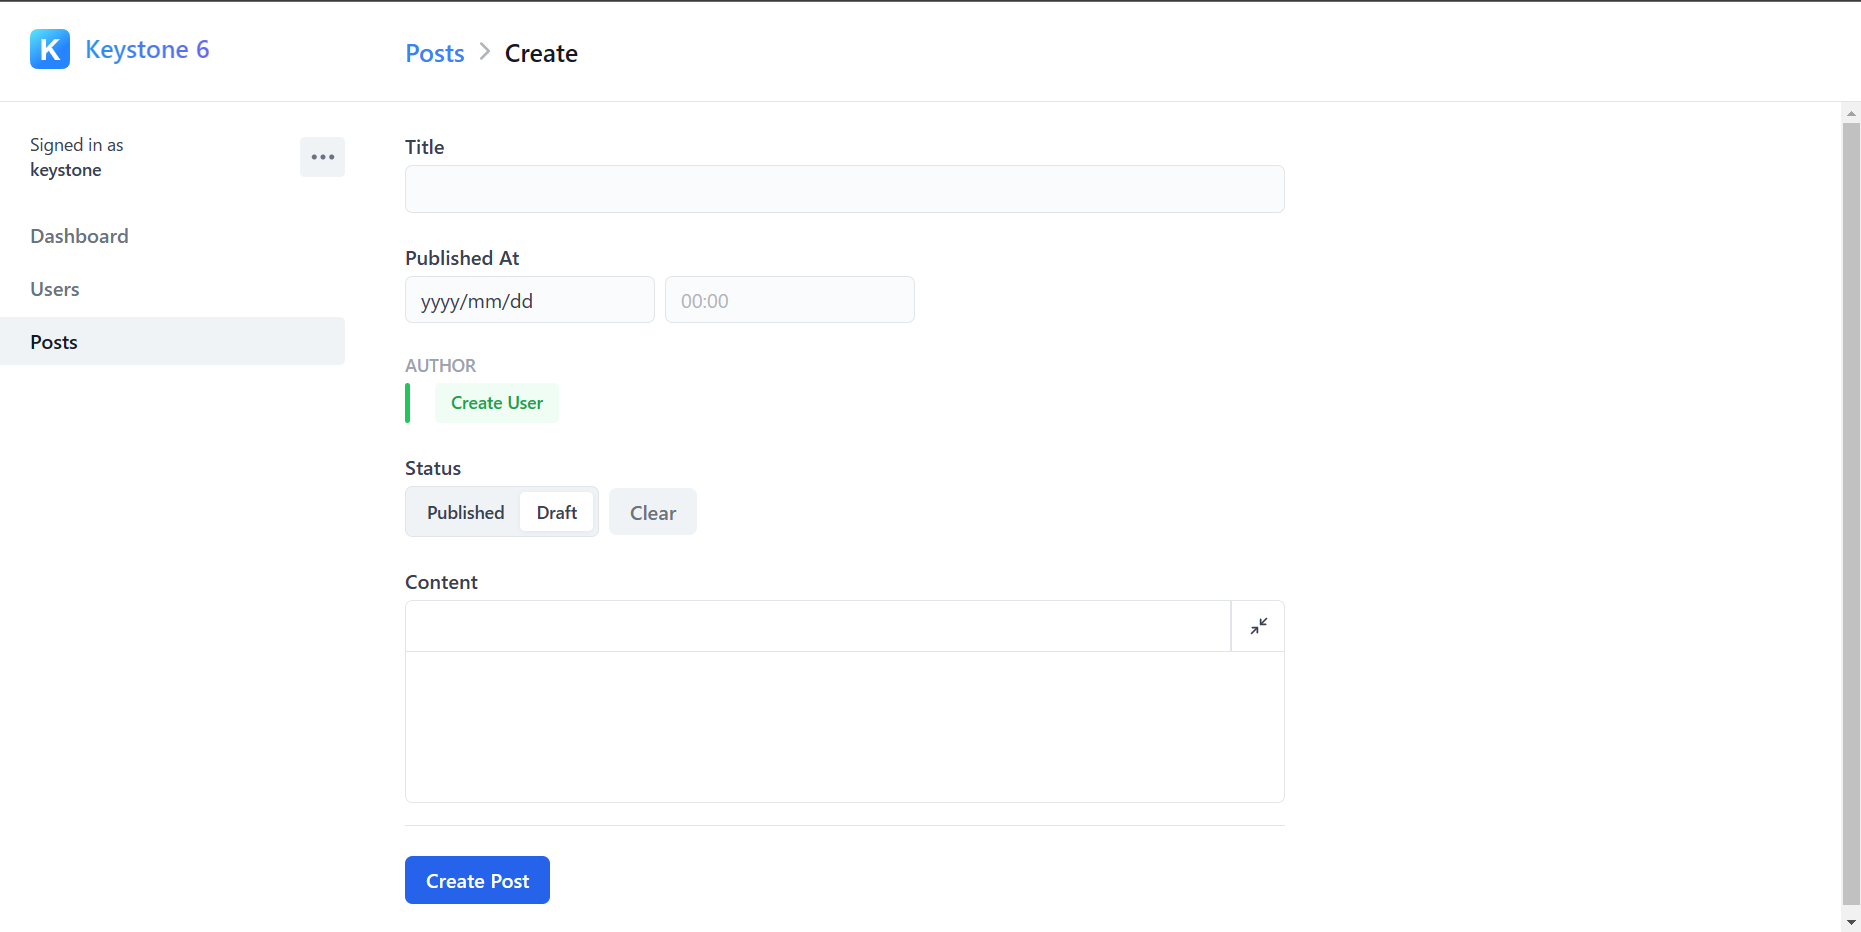
次に、投稿リストにドキュメントフィールドを追加します。
import { config, list } from '@keystone-6/core';
import { allowAll } from '@keystone-6/core/access';
import { password, text, relationship, timestamp, select } from '@keystone-6/core/fields';
import { document } from '@keystone-6/fields-document';
import { withAuth, session } from './auth';

...

  Post: list({
    access: allowAll,
    fields: {
      ...
      content: document()
    },
  }),

...

ドキュメントフィールドをカスタマイズする
ドキュメントフィールドの設定で使用可能な4つのフォーマットオプションを追加することから始めましょう。
・書式設定 (太字、下線、斜体)
・リンクス
・仕切り
・レイアウト
keystone.ts
...
const lists = {
...
  }),
  Post: list({
...
      content: document({
        formatting: true,
        links: true,
        dividers: true,
        layouts: [
          [1, 1],
          [1, 1, 1],
          [2, 1],
          [1, 2],
          [1, 2, 1],
        ],
      }),
    },
  }),
...

ドキュメントフィールド
keystone.ts
import { config, list } from '@keystone-6/core';
import { allowAll } from '@keystone-6/core/access';
import { password, text, relationship, timestamp, select } from '@keystone-6/core/fields';
import { document } from '@keystone-6/fields-document';
import { withAuth, session } from './auth';

const lists = {
  User: list({
    access: allowAll,
    fields: {
      name: text({ validation: { isRequired: true } }),
      email: text({ validation: { isRequired: true }, isIndexed: 'unique' }),
      posts: relationship({ ref: 'Post.author', many: true }),
      password: password({ validation: { isRequired: true } })
    },
  }),
  Post: list({
    access: allowAll,
    fields: {
      title: text(),
      publishedAt: timestamp(),
      author: relationship({
        ref: 'User.posts',
        ui: {
          displayMode: 'cards',
          cardFields: ['name', 'email'],
          inlineEdit: { fields: ['name', 'email'] },
          linkToItem: true,
          inlineCreate: { fields: ['name', 'email'] },
        },
      }),
      status: select({
        options: [
          { label: 'Published', value: 'published' },
          { label: 'Draft', value: 'draft' },
        ],
        defaultValue: 'draft',
        ui: { displayMode: 'segmented-control' },
      }),
      content: document({
        formatting: true,
        links: true,
        dividers: true,
        layouts: [
          [1, 1],
          [1, 1, 1],
          [2, 1],
          [1, 2],
          [1, 2, 1],
        ],
      }),
    },
  }),
};

export default config(
  withAuth({
  db: {
    provider: 'sqlite',
    url: 'file:./keystone.db',
  },
  lists,
  session,
    ui: {
      isAccessAllowed: (context) => !!context.session?.data,
    },
  })
);
これで、空のフォルダーから Keystone アプリを構築し、選択したフロントエンドに接続できる機能的なブログの基本が整いました。
